
How to Install Window Film at Home (Step-by-Step Guide)
Installing window film to your home or business might seem like a daunting task, but with the right tools and a clear guide, it’s a doable DIY window film installation project. Knowing how to install window film correctly ensures long-lasting and bubble-free results, allowing you to maximize the benefits of your space.
In this guide, we’ll walk you through the window film installation process, whether it’s adhesive or static cling. Follow these step-by-step instructions for a smooth and bubble-free installation.
Before installing, choosing the right type of window film is just as important as the installation itself. Different films serve different purposes — some offer privacy, others reduce heat, and some enhance aesthetics. If you’re unsure which film is best for your needs, take a look at our comprehensive guide on choosing the ideal window film for your home before starting the installation.
→ Best Window Film for Home — 2026 Top Picks
Adhesive vs Static Cling Window Films:
Static Cling Films
These are non-sticky films that use static electricity to cling when water is applied. They’re super beginner-friendly and easy to install, remove, and reposition, perfect for renters or temporary.
Pros
Cons
Adhesive Films
These films come with strong, pre-applied glue backing that bonds to the glass. They are more durable and long-lasting, but require a bit more care during installation.
Pros
Cons
Tools you’ll need:
Before we begin, make sure you have the following things ready:

Utility Knife
or a sharp blade


Squeegee
or a hard card

Lint-free cloth
or paper towel

Spray Bottle
Filled with water + a few drops of soap or any window film application solution
Step-by-Step Instructions
1
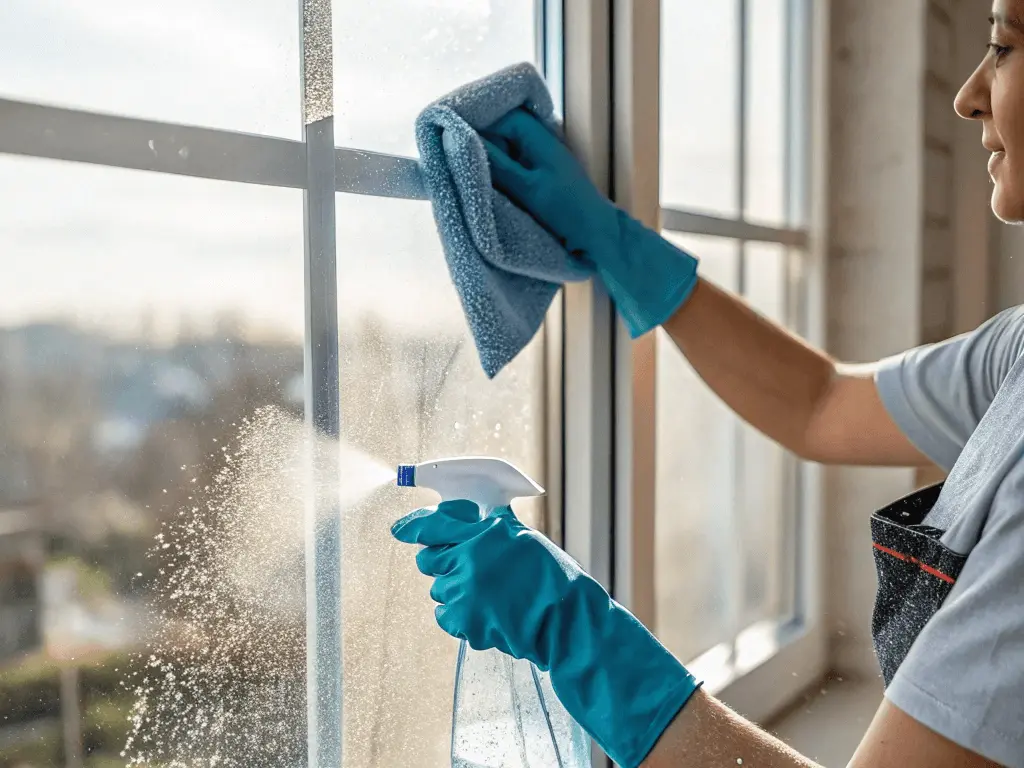
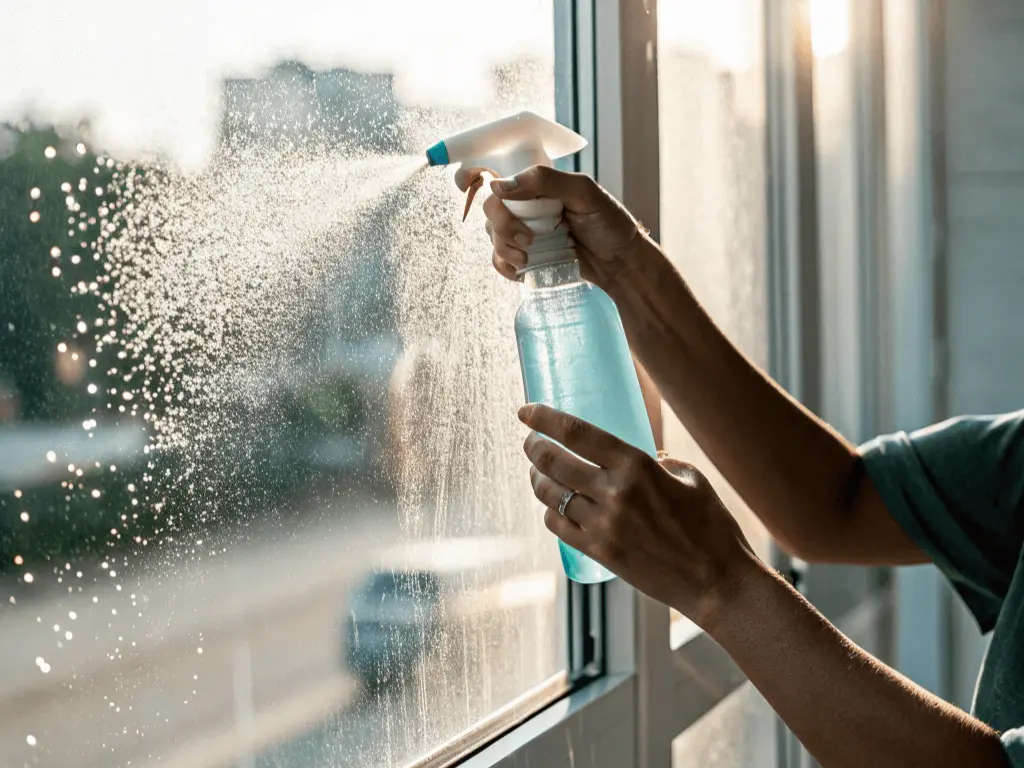
Clean the Glass
Use your spray bottle and microfiber cloth to thoroughly clean the glass, wiping away any dust, dirt, grime, or adhesive residue.
2
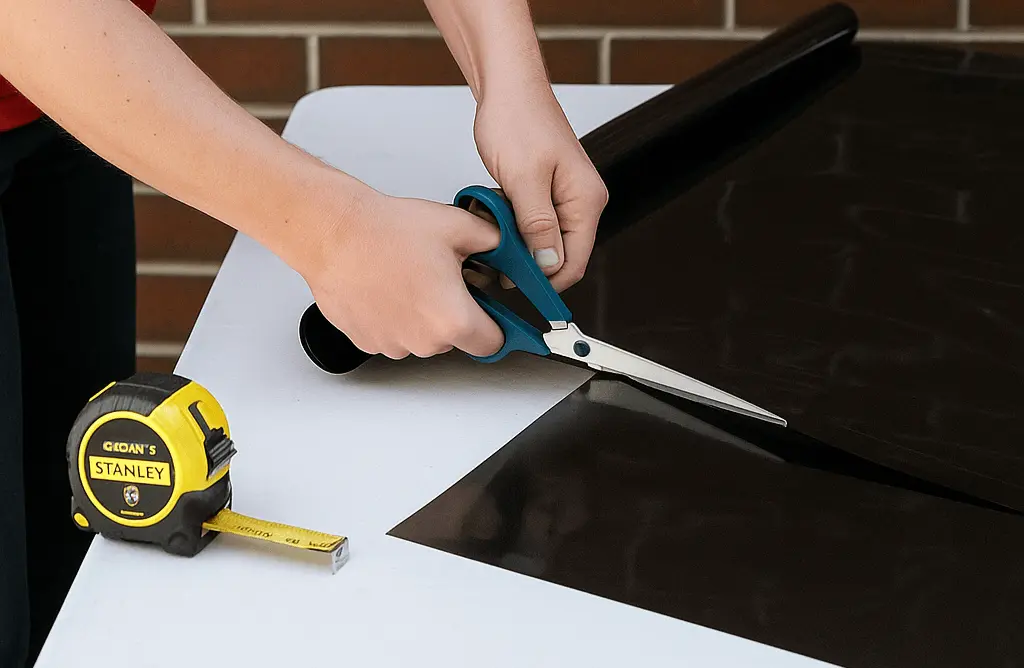
Measure and Cut the Film
Measure the area you intend to cover using a measuring tape. Carefully cut the film slightly larger using scissors or a utility knife. This excess will be trimmed later for a perfect fit.
3
Spray the Window
Generously spray the window with the soapy water or window film application solution. This prevents the film from sticking too quickly, allowing you to slide and reposition it until it’s perfectly aligned.
4
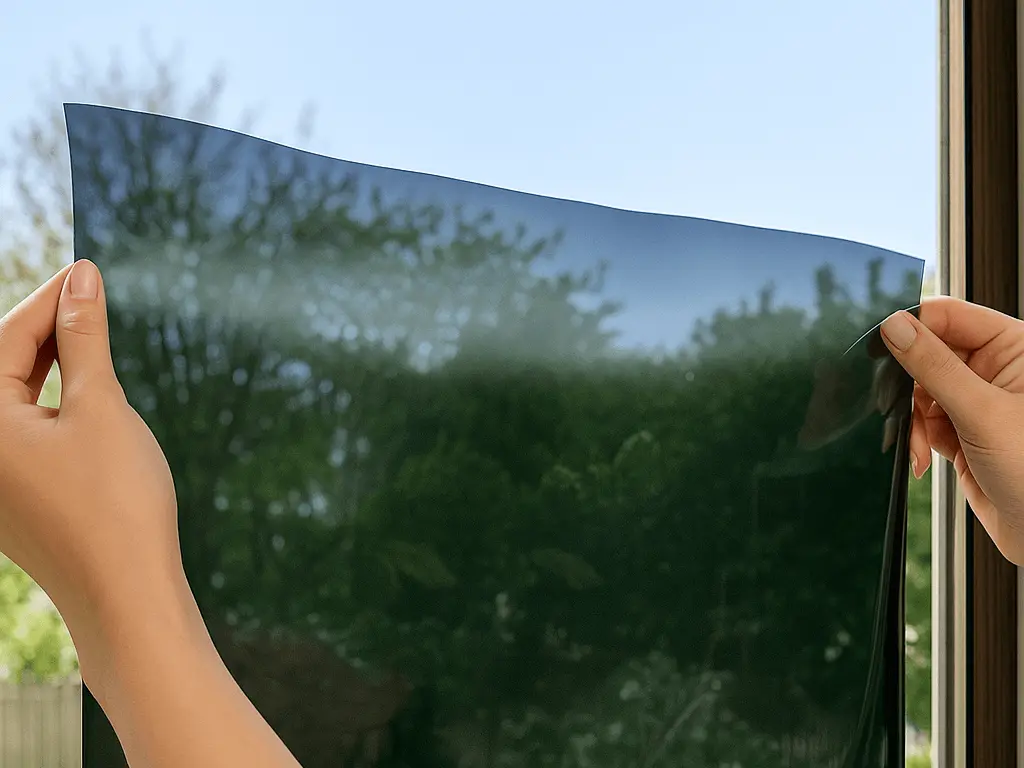
Peel and Apply
Peel off the backing of the window film. To do this easily, place a piece of tape on each side of the corner and pull them apart. As you peel the liner, spray the exposed side of the film with the solution. Place the sprayed part of the film on the wet window surface, starting from the top.
- For static cling film, you can peel and reposition freely.
- For adhesion films, go slowly and press evenly.
5
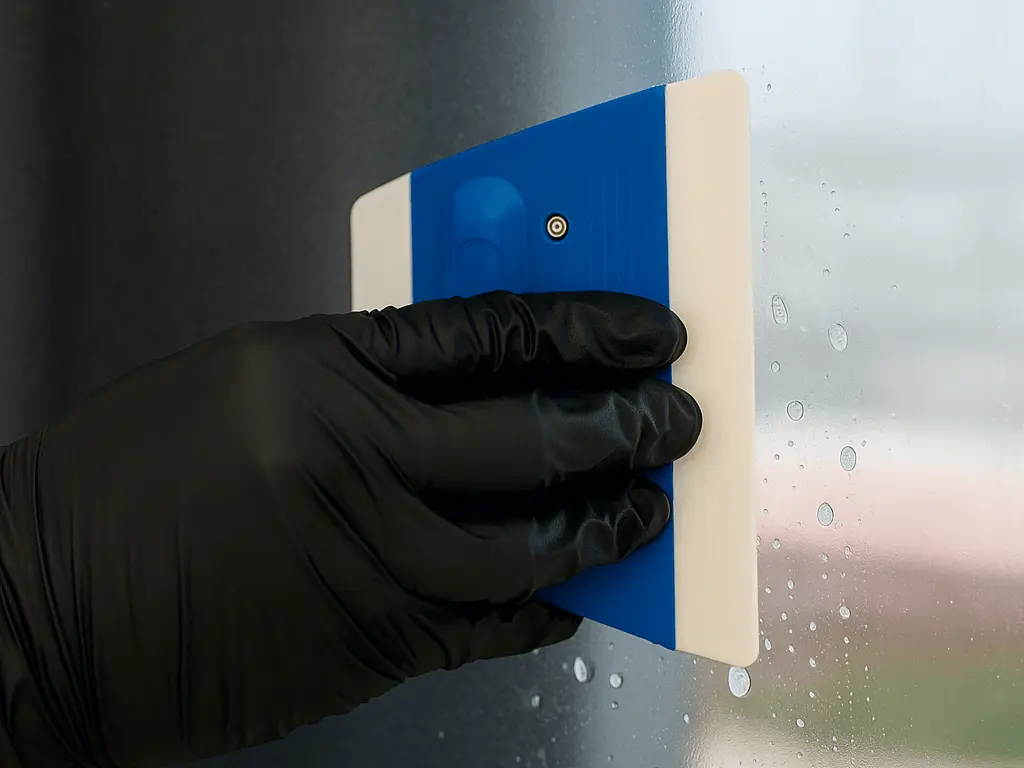
Remove Air Bubbles
Use the squeegee or a wrapped credit card to force out air bubbles and excess water towards the edges of the film.
6
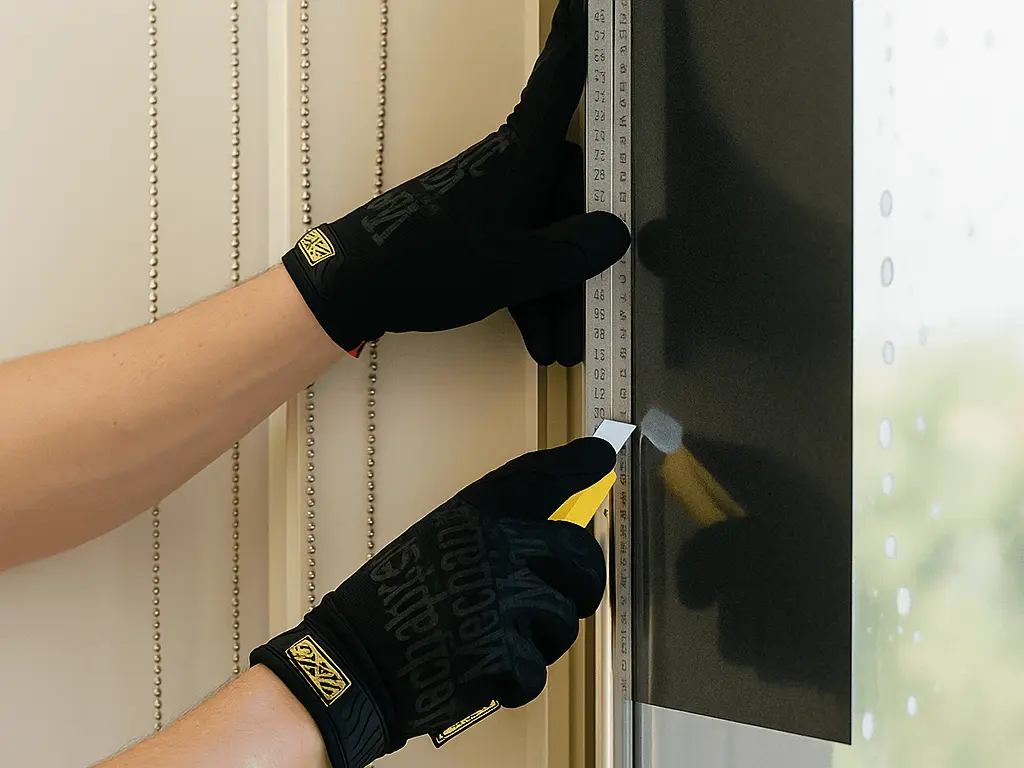
Trim the Edges
Use a sharp utility knife and ruler to carefully trim any extra film along the edges for a clean finish.
7
Let it Dry
After trimming, use your squeegee or cloth to remove any leftover air bubbles or water. Don’t clean or disturb the area while it sets.
8
Cutting and Aftercare
Curing time can take from a few days to several weeks, depending on the type of film and weather conditions. During this time, it’s common to notice small spots or tiny bubbles, which should disappear as the film dries and cures.
Common Mistakes to Avoid
Pro Tips for a Perfect Installation
FAQs
Final Words
Installing window film on your windows can be a simple yet rewarding project that substantially enhances your space’s comfort, style, and privacy. With the proper tools and by following the steps, you can end up transforming with ease.